iPad
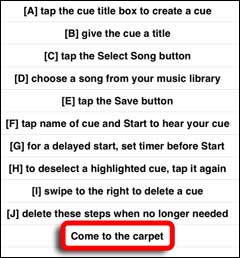
When you first launch the app, you'll see ten prompts displayed on the left side of the screen. I'll cover all ten of them below and provide some screen shots for clarity.
By the time you've worked your way through this simple guide, you'll be a Music Cue pro.
[A] tap the cue title box
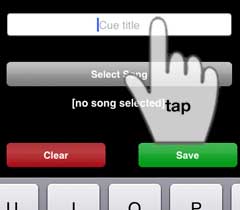
This will start the cue creation process. The keyboard will pop us and a cursor will appear in the text box.
[B] give the cue a title

The title of the cue should be indicative of what the students will be doing when they hear the song you select.
[C] tap the Select Song button
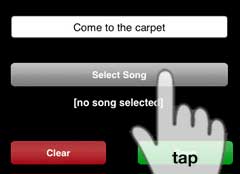
Tapping the Select Song button will bring up the music library on your device.
[D] choose a song from your music library
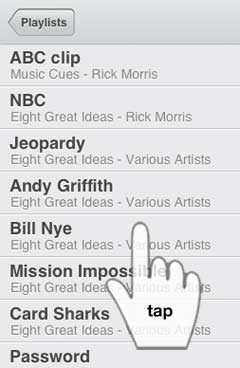
This is the only slightly annoying step since Apple does not provide a song browser that works in landscape mode. Also, the browser's default view is 'song library' as opposed to the easier-to-use Playlist view.
Anyway, tap the Playlist tab and then tap the name of the Playlist where you've organized the songs you plan to use as music cues. Tap the one you want and you'll be returned to the MC main screen.
In this example, we see Bill Nye being displayed under the Select Song button as confirmation of your song choice.
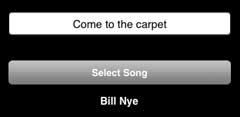
[E] tap the Save button
Tap the green Save button and your cue will be added to the roster.
And now that you have your first cue, this might be a good time to skip ahead to [J] and delete the steps from the roster.
[J] delete these steps
when no longer needed
Swipe to the right across step [A] and a red Delete button will appear. Tap the button and the cue--posing as a step--will disappear from the roster.
![Delete step [A]](images-ipad/delete-step.jpg)
Keep swiping and tapping until you're left with just the music cue you created.
[F] tap name of cue and
Play to hear your cue
Playing the cue is as easy as tap-tap. A tap on the cue will highlight it.
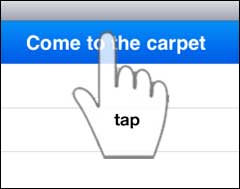
A tap on the Play button will cause the song you linked to the cue to play.
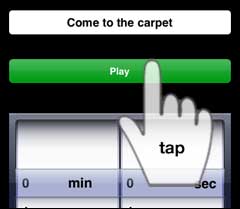
When the song is over, the app will revert to the main screen.
[G] for a delayed start,
set timer before Play
As with normal play, tap the cue. Then, before you tap the Play button, set the timer for the desired delay.
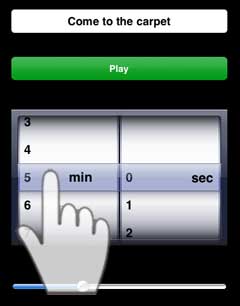
A tap on the Play button will activate and display the countdown timer.

When the timer shows 00:00, the song you had selected will begin to play.
[H] to deselect a highlighted cue,
tap it again
If you inadvertently tap the wrong cue, a second tap with deselect it.
You can always tap another cue to change your selection.
[i] swipe to the right to delete a cue
As explained in step [J] above, swiping to the right will bring up a Delete button so that you can remove cues from the roster.
![]()