iPhone / iPod Touch
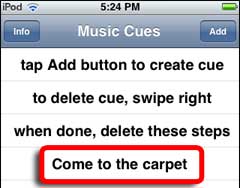
The iPhone/iTouch version has just three on-screen steps to help you navigate right away.
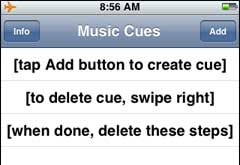
However, there wasn't enough room to list all of the steps so I'll explain them here and provide some screen shots for clarity.
By the time you've worked your way through this simple guide, you'll be a Music Cue pro.
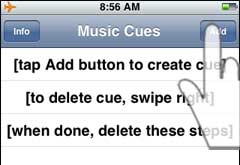
Create a Music Cue
Tap the Add button.
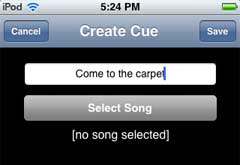
Tap the Cue title text box.
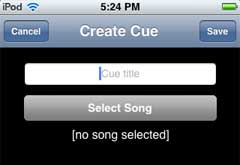
A cursor will appear and the keyboard will pop up.
Enter the name of the cue. It should be indicative of what the students will be doing when they hear the song.
Tap the Select Song button.
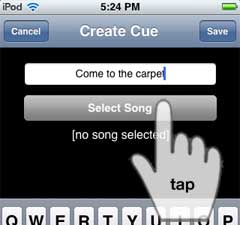
This will take you to the music library on your device. Tap the song you want to hear when you play the cue.
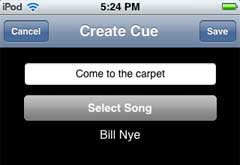
You'll be returned the Create Cue screen where you'll see the name of the song you chose underneath the Select Song button.
Tap the Save button.
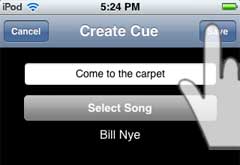
You'll be returned to the Main screen where you'll see your new cue listed below the steps.
Delete a Cue
Now that you've made your first cue, we should go ahead and delete the steps.
Swipe to the right across the cue. A Delete button will appear.
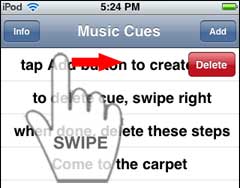
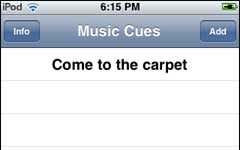
Tap the Delete button and the prompt--posing as a cue--will disappear. Swipe two more times and you'll be left with just your music cue.
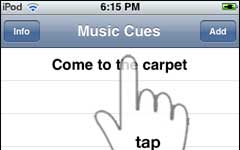
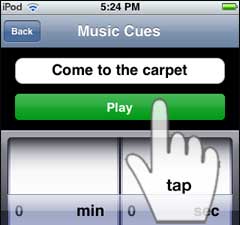
Play a Music Cue
Tap the music cue you want to hear and you'll be taken to the Play screen.
Tap the Play button and, as you can already guess, you'll hear the song you selected for the music cue.
While the cue is playing, you will be able to adjust the volume by using the slider at the bottom of the screen.
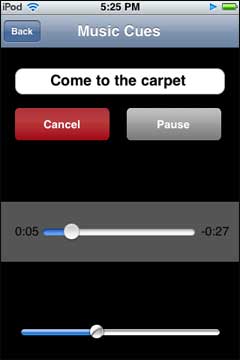
When the song is finished playing, the app will revert to the Main screen.
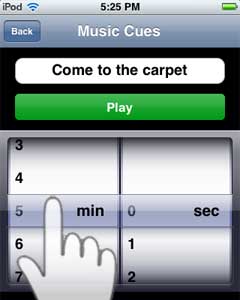
Delay a Music Cue
If you wish, you can delay the start of a music cue by setting the countdown timer before you tap the Play button.
A tap on the Play button will activate and display the countdown timer.
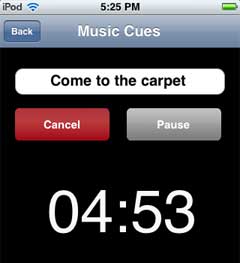
When the timer shows 00:00, the song you had selected will begin to play.
![]()